Configuring EasyAccounts for your store ✏️
EasyAccounts is a flexible application, meaning that many of the core features can be turned on / off depending on whether you need them for your business.
To get started going through the basic configuration process, go to the App Configuration section from the EasyAccounts homepage, or click on ‘Configuration‘ at any time in the navigation bar.
Once you are in the App Configuration page, you will notice tabs at the top of the page. Click each section and choose your configuration settings.
Credits
There are two options in setting up how Credits issued to customers are fulfilled by them.
Discount code: A discount code will be applied to the customers checkout, with the value of the customers store credit. The discount code value will be adjusted when the customers store credit is used or added to.
Draft order: When applying store credit, a draft order with a discount of the store credit value will be created. The customers store credit value will be adjusted when it is used or added to.
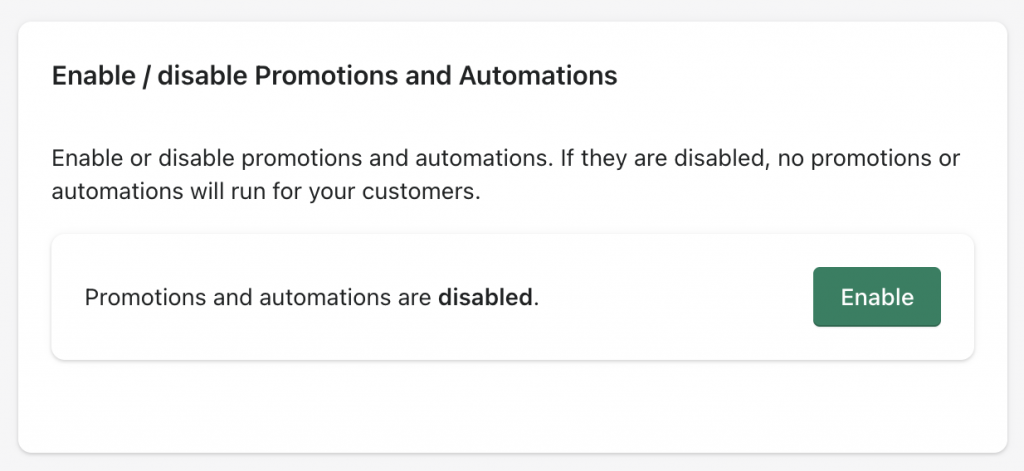
Promotions
First, you can choose whether to use Promotions by either enabling or disabling the option.
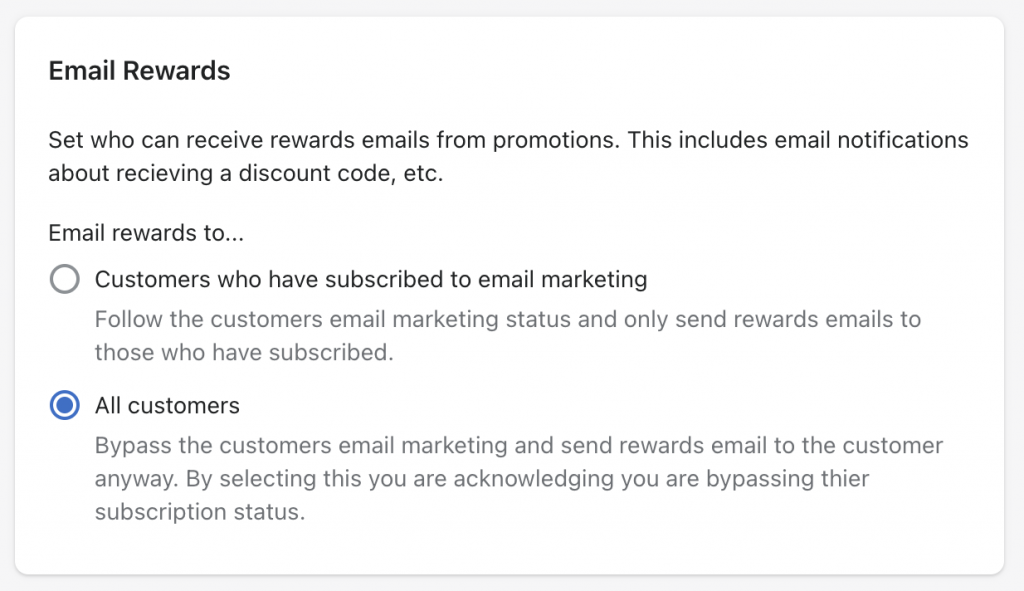
Next, choose whether your automated Emails will go out to customers who have subscribed to email marketing, or to all customers. It’s recommended that you use the all customers option as this would not be considered spam, but rather an earned reward.
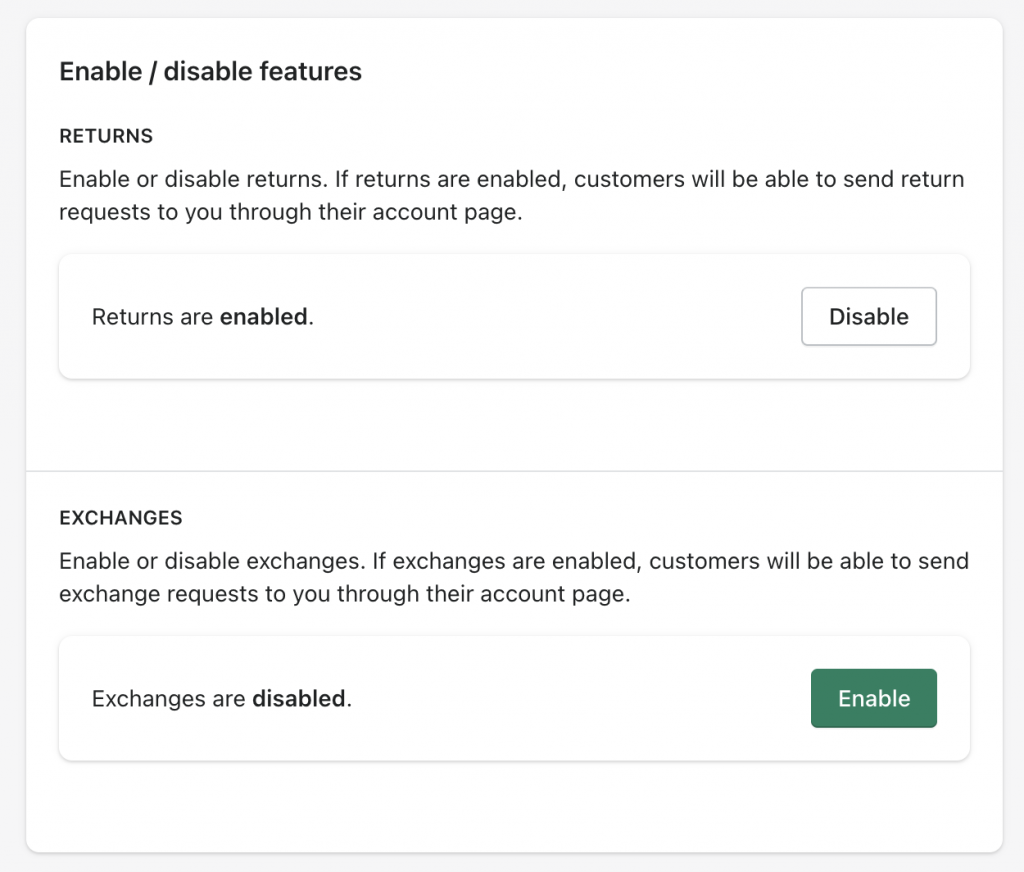
Returns Center
First, you can choose whether to allow Returns and Exchanges under different options.
Next, in the Return Center, when approving a request or creating a request on behalf of a customer, you can select a return shipping option. EasyAccounts allows you to provide free return shipping for your customers by generating and purchasing a shipping label for your customer to use. In order to enable this feature, you must input a credit card for purchasing the shipping labels.
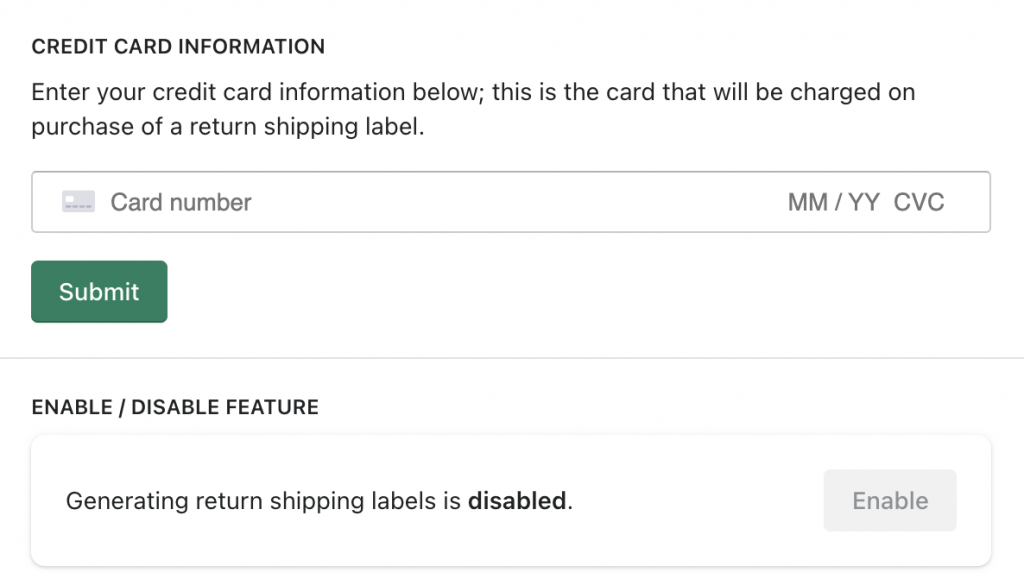
Charges for any purchased shipping label is run through Stripe, the same payment processor that Shopify uses, except this will be a transaction outside of your monthly app charges. You will receive an invoice from Stripe for each label purchased.
Account Page
Here there are 3 basic configuration options.
- Choose whether you would like to enable / disable the Wishlist tool.
- Enable / disable ‘Contact Shop’. In the account page, there are places where ‘Contact Shop’ buttons and links can be enabled, such as in the order details page. Enabling this feature allows customers easier access to your stores helpline via email.
- Add you ‘Contact Shop’ email address for where you would like to receive these customer inquiries.
Emails
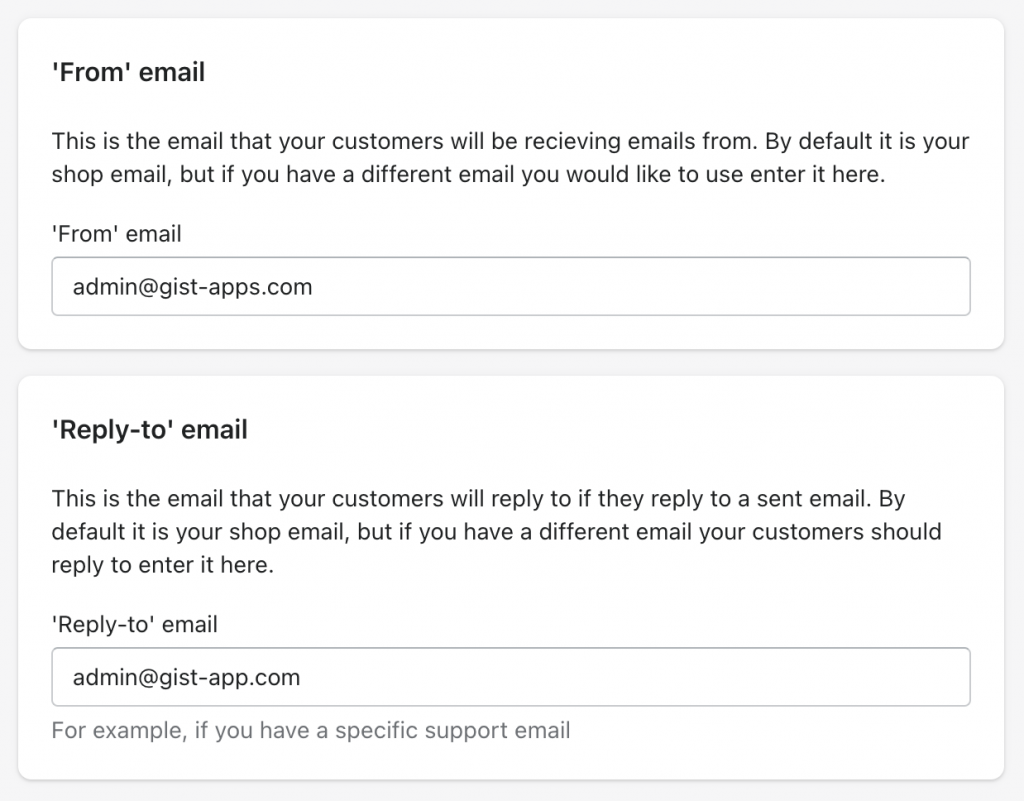
There are many more Email customization options within the Emails section from the EasyAccounts homepage. Here, there are two high level options – setting your ‘From email’, and your ‘Reply-to’ email.
Integrations
EasyAccounts offers several app integrations. Click through any integration option below to see step by step instructions on getting set up.
Remember to always hit Save and Update any time you make a change to your Configuration.