Creating a Custom Page ✏️
Custom Pages offer you the chance to add a custom tab in the customer account navigation menu that leads to custom content. Examples of Custom Pages: return policy, subscriptions, etc.
To begin, open the EasyAccounts app, and go to the Custom Pages section.
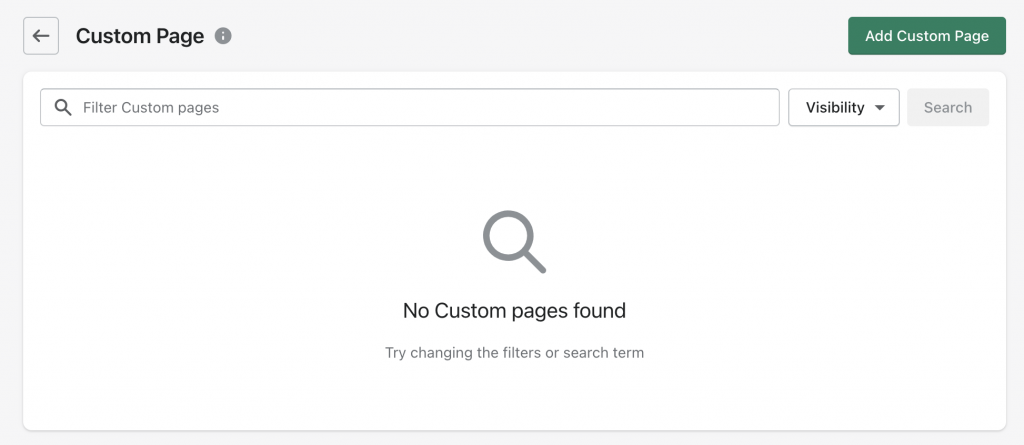
From here, select ‘Add Custom Page’.
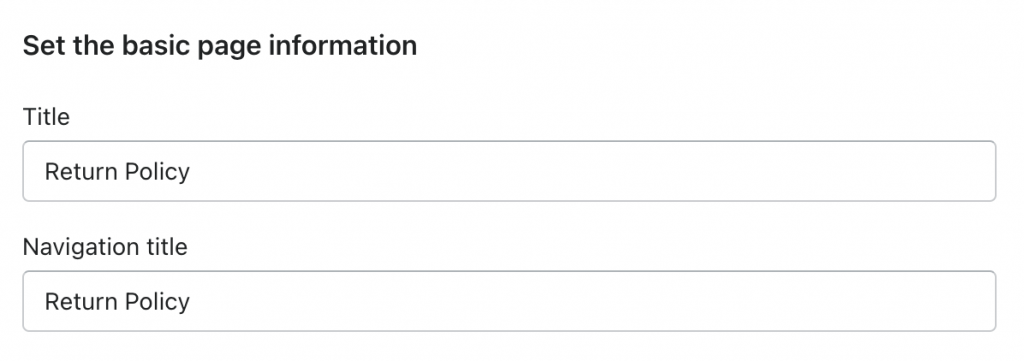
Next, add your Title (what you see) and your Navigation Title (what your customer sees).
Now add your content in the HTML editor. You can upload photos, add links, or simply enter in text.
Finally, make the Page ‘visible’, and select ‘Save’.
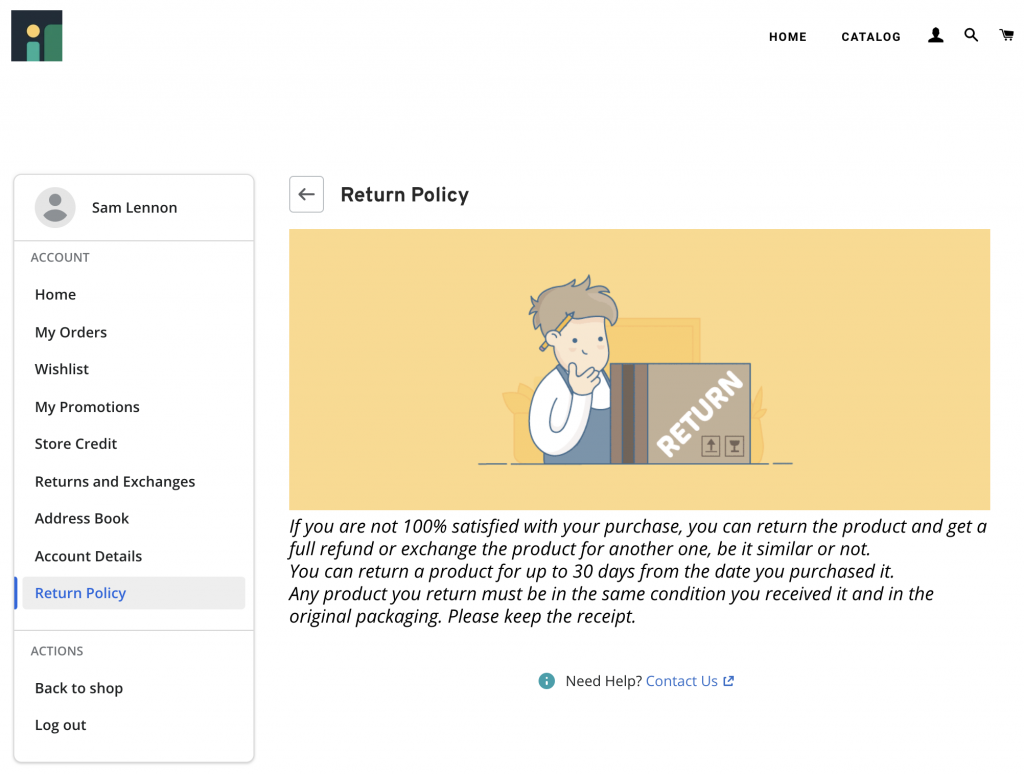
Now when your customer navigates to their customer account, they will see this ‘tab’ and page added.
Can't find the answer in our documentation?
Contact Support Configuring EasyAccounts for your store ✏️
Design, Style, and Customize your Storefront Customer Account Pages ✏️
How to Integrate Klaviyo with EasyAccounts ✏️
How to Integrate Yotpo with EasyAccounts ✏️
How to Integrate Product Reviews by Shopify with EasyAccounts ✏️
How to Integrate Stamped.io with EasyAccounts ✏️
How to Integrate Judge.me with EasyAccounts ✏️
Installing Wishlist Snippets ✏️
Creating a Custom Page ✏️